
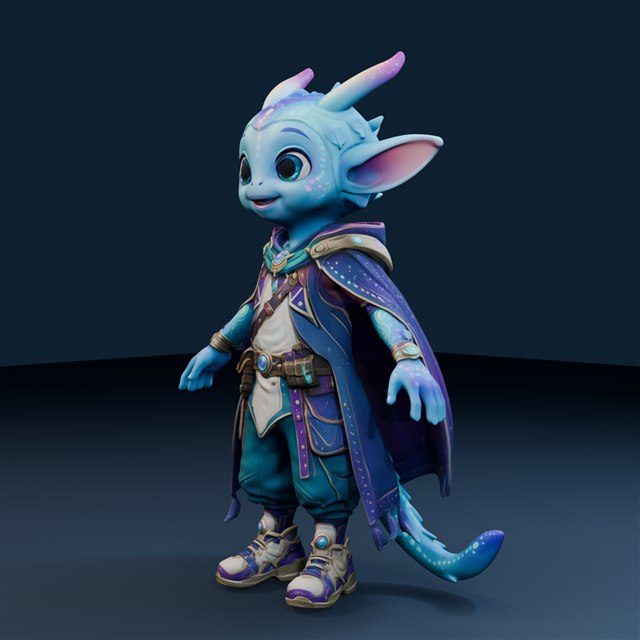
1. Check the shape beneath the surface.
The release notes record checks for closed boundaries, consistent face direction and valid volume. These checks inspect the mesh beneath the colours you see in a preview. They help identify geometry that needs attention before slicing.
A good-looking render and a successful geometry check answer different questions. Neither, on its own, demonstrates that a physical print will succeed.
2. Decide on scale and assembly.
This study was prepared in 75 mm, 100 mm and 125 mm character heights, excluding the base. It also explored separate bases, keyed joints and combined model-and-base files.
A separate base can be easier to paint independently. A keyed joint helps align the pieces. When resizing matching parts, keep them at the same scale and check the fit; the smallest details become smaller too.
3. Prepare for a particular process.
The filament assembly was test-sliced, while the resin model was checked and supported in Lychee. The cape, ears, fingers and tail were among the details identified for careful support and cleanup.
Support placement affects which surfaces need finishing. A useful review follows the model around every side and checks the intended scale, orientation and material before generating printer instructions.
4. Keep the validation claim precise.
The project had completed digital preparation, with a physical test print still outstanding for that release. Printer-specific tuning and a physical result remain separate stages.
Use the files and instructions for your chosen option. This is an editorial case study, not a list of files included with every My Idea3D package. Current package inclusions and Gallery options are shown on their own pages.
Follow the instructions for your printer and material. Review supports and slicing settings for your setup before printing.
Compare current creation packages ↗︎